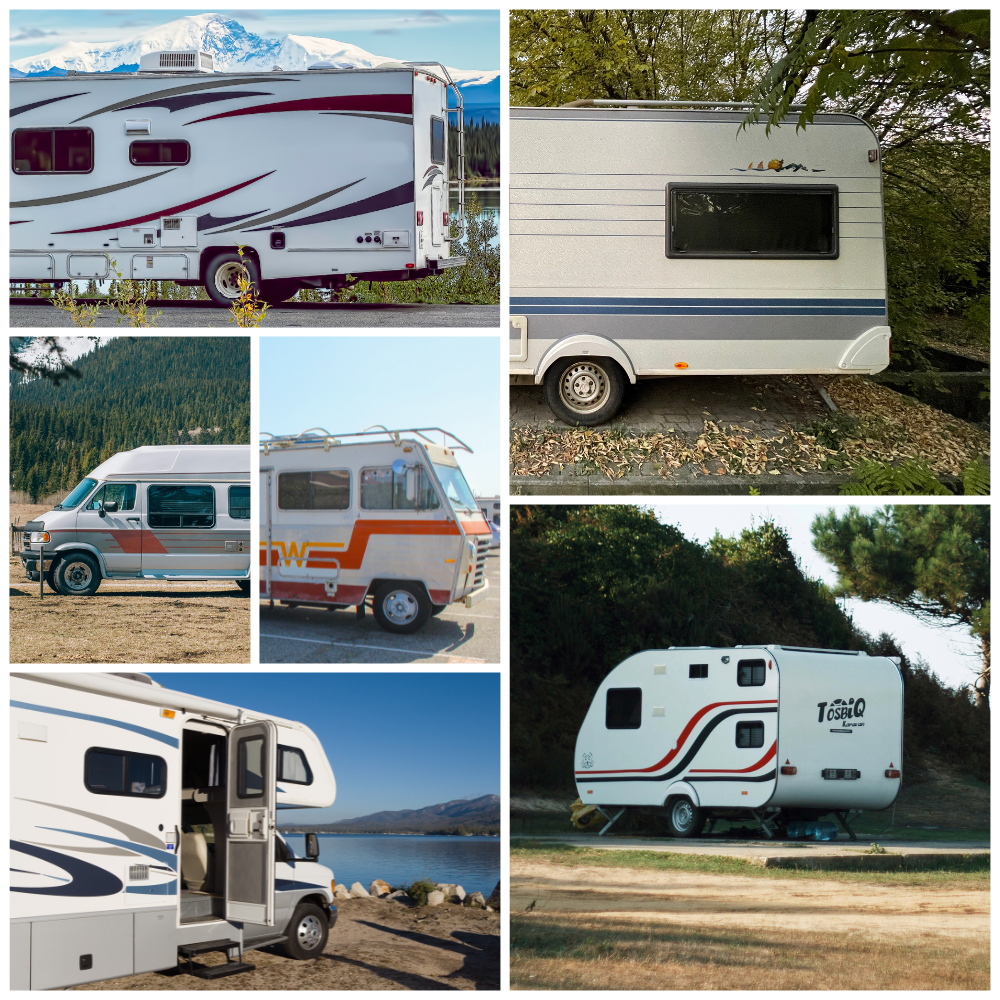
Ok, so here we’re going to look at how to remove decals from RV sidewalls.
We’ll look at how to remove RV decals (the easy way), possible ways to restore them, and where to source replacement RV decals.
If you’re looking to replace the old graphics, I’ve got a number of options for RV decal ideas.
Why RV Camper Decals Fade and Peel
Over the years, RV camper decals take a beating from the sun (the main culprit), rain, and general road wear. Faded, peeling decals make even the nicest camper look older than it really is.
Vinyl graphics are durable, but not indestructible. Most RV camper decals last 5 – 10 years before they start showing signs of wear. Here’s why:
- UV damage: Constant sunlight breaks down the vinyl and adhesive, causing fading and brittleness.
- Weather exposure: Rain, snow, humidity, and road salt all contribute to peeling edges.
- Cleaning chemicals: Harsh solvents strip protective coatings.
How to Remove RV Decals
When it comes to removing those tired old camper decals, you have a couple of choices.
I’ve had to do this a few times and tried a few different methods.
Stuff I’ve tried with a pretty low success rate, or tons of work:
Blowdryer
All you’re going to need is heat, and a whole lot of patience.

Works pretty well on newer RV decals and graphics, but once the decals have been baked on by years of sun, crazed or cracked, this method becomes way harder.
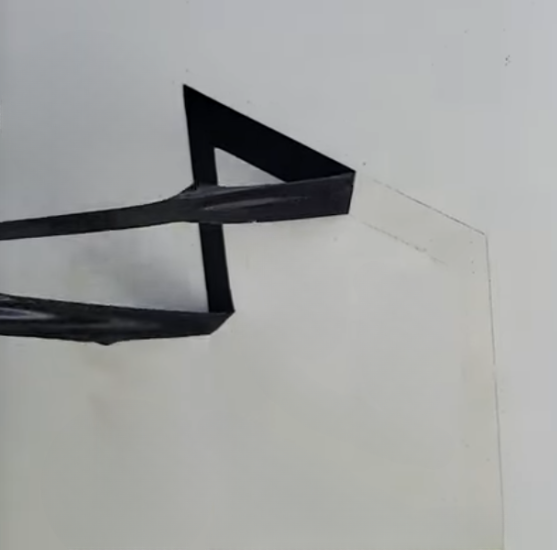
Just hold a blowdryer about 3-4” away from the decal and use a plastic scraper to help peel it off.
When peeling, keep a sharp angle, and peel slowly, this will stop the decal coming off in small pieces.
Some folks suggest using a heatgun, but that always sounded a bit risky to me. Heatguns are great for removing paint from timber etc, but I wouldn’t try it on a fibreglass camper sidewall…
This method will remove RV decals, but make no mistake, it’s a lot of work.
Rubber Decal Remover Wheel
The type that fits in a drill. Just seems to create a whole lot of mess without any “removing”.
WD40
No real effect. Not for me anyway.
The Quickest and Easiest Method 🙂
I came across this stuff when talking to a guy who was restoring his boat.

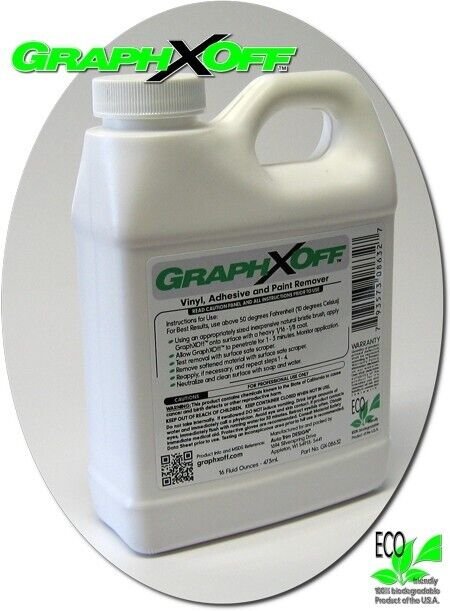
We got round to talking about the graphics, and I asked him how he removed the old decals, he said he has always used GraphXOff.
This stuff is amazing.
Paint it on, and leave for about 10 mins.
Use a plastic razor to scrape off.
Your vinyl graphics and decals will come off with hardly any effort at all.
I removed a 4ft graphic from the back of a fifth wheel in around 30 minutes.
My Tip: The removal paste tends to dry out pretty quickly. To stop this, and give the stuff more time to work, cover the area you are working on with saran wrap.
A few pointers when when working with this stuff:
Don’t get this product on painted metal surfaces, it’ll peel the paint if left long enough.
Wear gloves and safety glasses.
Protect the floor where you’re working – plastic sheet or cardboard for easy clear up.
Restoring RV Bodywork After Decal Removal
After you’ve got your RV camper decal off, it’s likely you’ll see a difference in the paint color where the decal or graphic used to be.
I highly recommend this video, it’s how I did it, and it shows exactly how to restore your paintwork.
I used a cordless kit like this one.
Restoring Camper Decals
If your graphics are faded but not peeling or cracked, you might be able to save them. This (might) work for decals that aren’t too bad and just a bit tired looking or sun bleached.
Clean Thoroughly
Wash your decals with soap and water and dry completely.
Buff the Decals
I’ve had decent success by buffing vinyl with an ultrafine compound.
There are other brands, but this is what I used.
You can try it by hand, with a polisher, or with the kit I mentioned for restoring bodywork.
Just take your time, and use a soft microfibre cloth or fine buffing pad.
After buffing, apply a couple of generous coats of 303 Aerospace Protectant, I use this stuff all the time, it’s fantastic for all RV exterior surfaces. It’s an excellent UV protectant and will make your graphics last a lot longer. Apply every 2-3 months.
There is a product called McKee’s 37 Marine & RV Vinyl Decal & Graphic Restorer that claims to restore RV decals, but I have no experience with it, and it’s not cheap.
Replacement RV Decals
Now you’ve removed your RV decals, or restoring them doesn’t work, it’s time for new ones.
Where to Get Replacement RV Decals

If you’re looking for exact replacements, these are the best places to get them.
If you are looking for something different, or custom graphics, try these guys.
If you have an older or vintage RV, or just can’t find the decals you want, this company deals in discontinued RV decals.
RV Decal Ideas
So you’ve managed to remove the old camper decals, and maybe you’re looking for a change?
There are so many to choose from: pinstripes, compass designs, family names and quotes.
Here are a couple of places for some inspiration.
Nature themes – Mountains, forests, rivers, wildlife silhouettes etc.
Looking After Your RV Camper Decals
Once you’ve restored or replaced your decals, you can make them last so much longer with just a bit of minor maintenance.
Wash regularly using mild dish soap.
Apply 303 Aerospace Protectant every 4–6 weeks, especially in the summer.
Don’t use petroleum based waxes on your decals. These can attack decal edges. Stick to the 303 Aerospace Protectant.
Just 10 minutes maintenance every now and then will keep your decals and graphics in good shape.
If you want your RV to look its best, taking care of your decals will keep your camper looking sharp for years to come.


