
There are any number of reasons why an RV wall panel replacement might be needed.
I’ve drawn on my 30+ years in the construction industry and experience removing and refitting a couple of these panels to put together this 11 step guide.
The guide will list the tools and materials needed along with instructions on how to remove and refit a damaged RV panel.
Tools You Will Need

Tape
Pencil
Metal ruler
Pliers
Pry bar
Pilot Drill
Rebater
Screw gun
Jigsaw
Handsaw
Circular Saw (Optional)
A Word on Tools
All the tools listed here are all pretty straight forward items, and if you don’t have them they are easily available or “borrow-able”.
You don’t need a metal ruler but from experience a ruler like this is much better than a tape at getting very accurate measurements should you need to – sockets etc.
A rebater is a small drill attachment that makes the shape of the underside of a screw head. This enables the screw head to fit flush with the board.
Materials You Will Need
⅛ or ¼ Inch Plywood
Screws
Wood Filler (optional)
Silicone
Insulation
Melamine Edging Tape (optional)
Plastic Corner Trim (optional)
Wall Covering Of Your Choice.
A Word On Materials
You won’t know what thickness of plywood you will need until you have the old panel off, but generally the plywood used in RV’s and travel trailers will be either ⅛ or ¼ inch in thickness.
Ordinary plywood will do the job just fine, but personally, I like to use marine plywood. Marine plywood is resin bonded, impact resistant and in general much stronger. It’s a little more expensive, so the decision is yours.
Any decent hardware store will carry melamine edging tape. This is installed over any joints you may have to give you that pro finish.
Again, a good hardware store will have a selection of plastic corner trims in various colors. This will finish any rough corners that you may have.
Step 1
Depending on which RV wall panel replacement you are attempting, there may be fixtures and fittings that need to be removed.
Disconnect any electrical sockets and remove them. (make sure power is off).
Remove any shelves and or fittings.
Step 2

Next remove any corner trims or joint trims. These trims are more often than not glued on, and will sometimes come off in one piece. An old chisel is a good tool to pry them off.
Sometimes these wall panels will have a bead of silicone in the corners or where they meet the floor. Run a sharp utility blade through any silicone to break the seal.
Step 3
Ok, now it’s time to remove the panel. Don’t go mad with the pry bar at this stage, RV walls aren’t as robust as the walls in your house. Try to get the pry bar under a section of the panel and gently, little by little pry the panel off the studs underneath.

The “studs” are the uprights the board is fixed to. Depending on your RV or camper trailer these studs will be made of either timber or aluminium. If the studs are aluminium then the panel will more than likely screwed or glued (normally both) to the stud.
If the panel is screwed (timber or aluminium) it’s going to need a fair bit of force to get the panel off. Try to get the panel off with as little damage to the studs as possible.
If the studs are timber then usually the panel is fixed with a pneumatic staple or pin gun and the panel should come off relatively easily.
Step 4

Hopefully you should now have the panel off. What you should now see is the wall studwork and probably some insulation.
Depending on the reason for removing the wall panel i.e. water damage, this is the stage where you may have to replace some of the insulation with new.
The insulation is easy to find and your local hardware store will have what you need.
This is also the time to remove any silicone from the corners or floor. A window scraping blade is good for this task.
Step 5
Now it’s time to cut your new plywood to size.

If you have corner or top trims you will have a little leeway in your measurements. Try to measure for a snug fit but give yourself some wiggle room. Remember that a bead of silicone will hide a multitude of sins!
Remember to measure and allow for sockets and any pipework etc.
Go ahead and cut your board. You can use a circular saw for speed (if you have one) but ¼ or ⅛ inch plywood is pretty easy to cut with an ordinary handsaw. A jigsaw is definitely the best tool for cutting out any sockets.
Step 6
Go for a trial fit of your new wall panel. Make any adjustments or re-cuts until you are happy with the fit.
When you are happy with the fit, run around the cut edges with some sandpaper to tidy up any splinters and rough edges.
Step 7

Now it’s time to mark the position of the studs.
Use a pencil to mark a line on the floor and ceiling marking the center of the exposed studs.
This is so when the new plywood goes in place you can draw a pencil line on the plywood between the two marks. The line will indicate the center of the studs where you can screw the board to the stud.
Step 8
Install your new panel.
Put your new panel in place, double checking that you are still happy with the fit.
Once the panel is in place, find the pencil marks you made marking the top and bottom of the studs in Step 7. Holding the panel in position hold a level or straight edge between these two marks and draw a pencil line. This will mark the center of the studs behind the plywood.
Step 9

Now it’s time to screw the panel in place. Using the pencil line you drew on the plywood as a guide, use a pilot drill (smaller than your screw thread size) and drill pilot holes every 8-10 inches along your lines.
After you have your pilot holes, use the rebater and make your chamfered holes in the pilot holes.
Now screw your panel to the studs.
If you find you have aluminum studs instead of timber (or a mix of both).
Instead of pre drilling the hole into your aluminum stud, use these sheet metal self tapping screws.
You can still make the chamfered hole so the head of the screw sits flush with the board.
My top tip: Do not over tighten these screws. Aluminum is soft and these screws will easily chew up the stud, and you will end up “spinning” the screw.
Step 10
Now is the time to apply whatever wall covering you have decided on.
Before the wall covering/paint goes on it may be necessary to fill the screw heads with a little wood filler and rub them down flush.
You might be going for a painted finish, or one of the sticky backed plastic designs available.
Whatever finish you have decided on, complete this before moving on to the next step.
Step 11
Ok, so now it’s time for the finishing touches.
If you have any joins you can use melamine edging tape to cover them. Using this tape really does give a professional finish.
Melamine Edging Tape
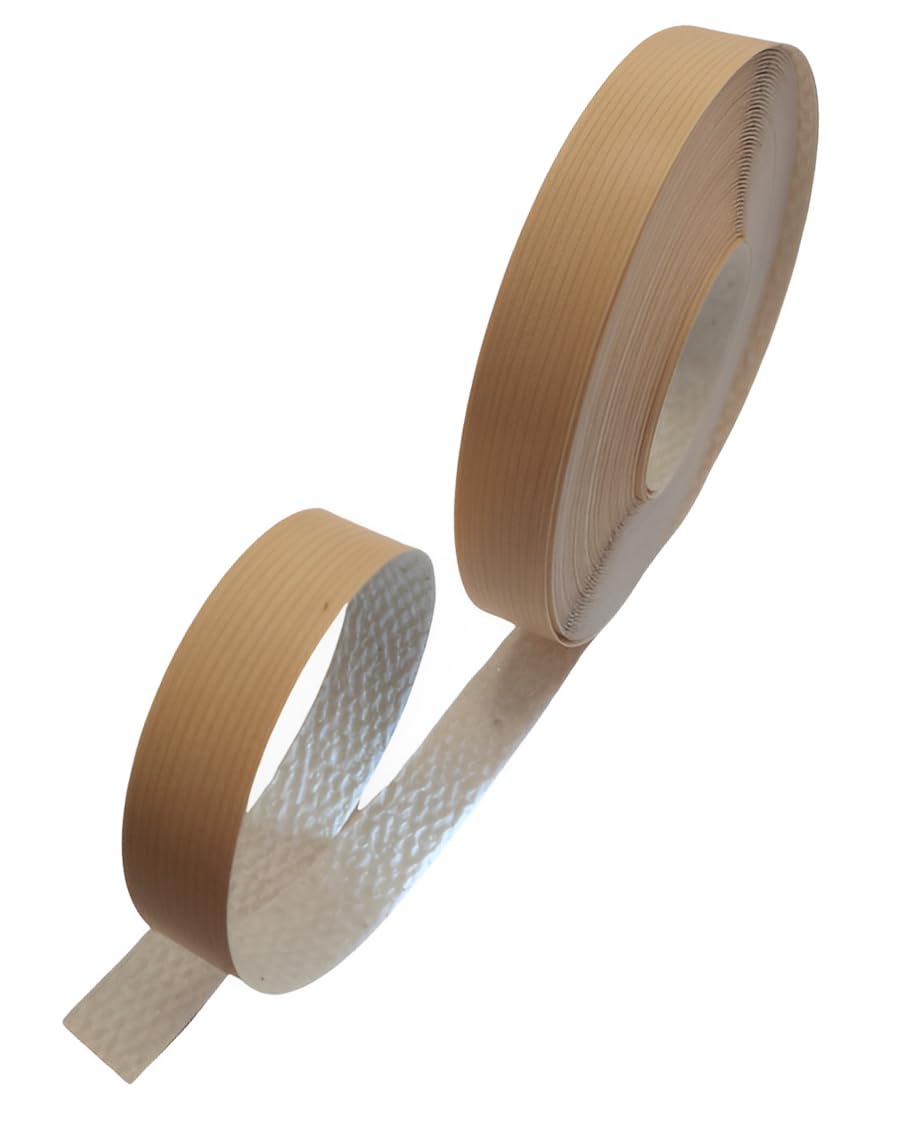
This stuff comes in many colors and has a pre glued backing. Install using a ordinary household iron.
If you need to cover any corners use plastic corner trim to finish them.
Depending on where your new panel is situated, run a bead of silicone (whichever color suits best) around the bottom/sides/top of the panel to finish off.

Hopefully you found this guide helpful.
If you did, please check out my other RV maintenance guides.
